Complete Guide to Setting Up Drip Irrigation Systems
Drip irrigation is one of the most efficient watering methods available to modern farmers. After implementing drip systems across dozens of farms in Kenya, I've seen water usage drop by 40-60% while crop yields increase significantly.
Why Choose Drip Irrigation?
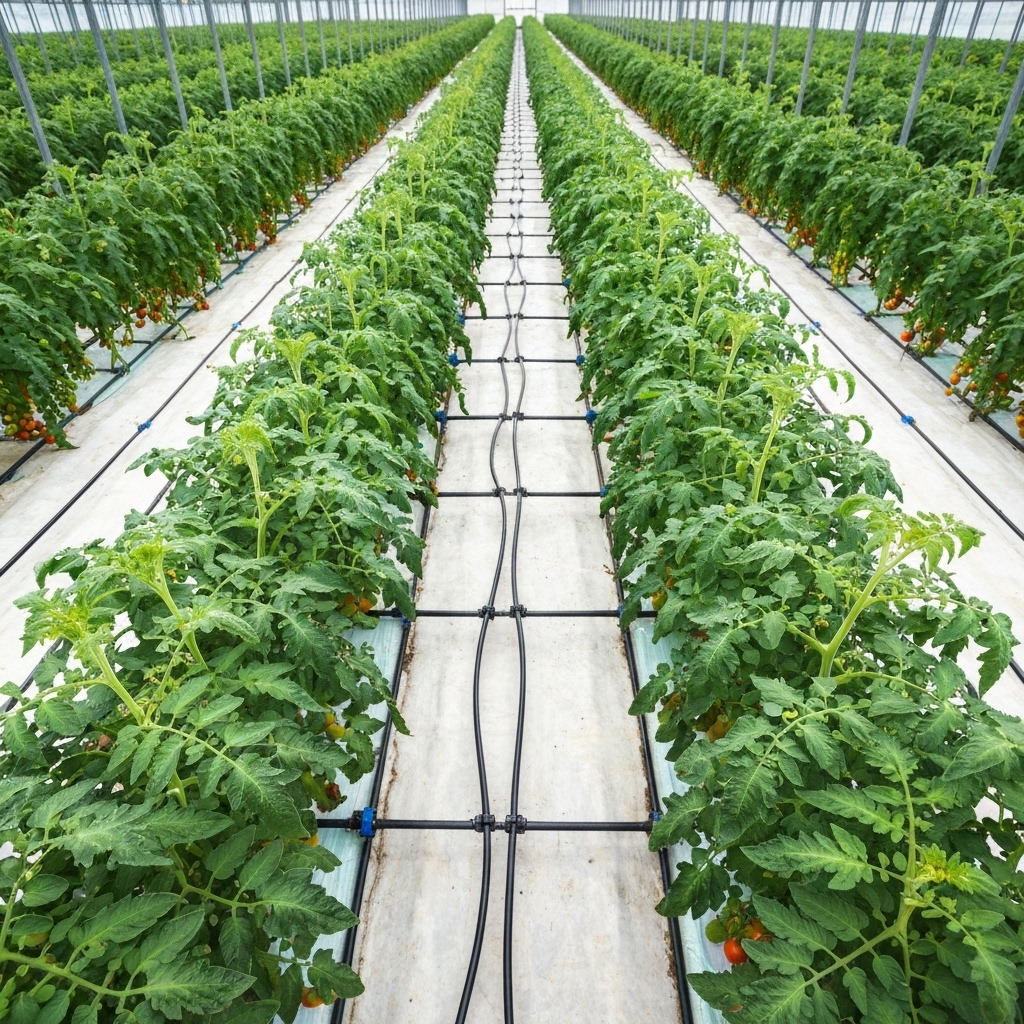
Traditional flooding or sprinkler systems waste enormous amounts of water through evaporation and runoff. Drip irrigation delivers water directly to plant roots, ensuring maximum efficiency and minimal waste.
Key Benefits:
- Reduces water usage by up to 50%
- Increases crop yields by 20-30%
- Reduces weed growth
- Prevents soil erosion
- Allows precise fertilizer application
Planning Your Drip System
Before installing any equipment, you need a solid plan. I always start by mapping the farm layout and calculating water requirements for each crop zone.
Essential Components:
- Water source (borehole, tank, or municipal supply)
- Filtration system
- Pressure regulators
- Main distribution lines
- Drip lines or emitters
- Timer controls (optional but recommended)
Installation Process
I recommend starting with a small test area before expanding to your entire farm. This allows you to fine-tune the system and learn proper maintenance procedures.
The installation typically takes 2-3 days for a one-acre plot, depending on crop layout and terrain complexity.
Maintenance Tips
Regular maintenance is crucial for system longevity. Clean filters weekly, check for clogged emitters monthly, and inspect lines for damage after each growing season.
With proper care, a quality drip irrigation system will serve your farm for 8-10 years, paying for itself many times over through water savings and increased yields.
Need Expert Guidance for Your Farm?
Get personalized advice and hands-on support from Fred and the Farm With Fred team.